With the growing popularity of IoT (Internet of Things) devices, Raspberry Pi has emerged as a powerful platform for developers and enthusiasts alike. In this Raspberry Pi VPC IoT tutorial, we will explore how to create a secure cloud environment using AWS VPC (Virtual Private Cloud) to connect and manage your IoT devices. Whether you're a beginner or an experienced developer, this guide will walk you through the process step-by-step.
Raspberry Pi has revolutionized the way we approach hardware development and cloud integration. This tutorial is designed to provide you with the expertise and tools necessary to deploy IoT devices securely within a Virtual Private Cloud. By the end of this guide, you will understand the principles behind setting up Raspberry Pi with AWS VPC for IoT applications.
Our focus will be on creating a robust infrastructure that can handle data exchange between devices and the cloud. This Raspberry Pi VPC IoT tutorial will cover everything from setting up your Raspberry Pi to configuring VPC and implementing IoT solutions. Let's dive in!
Read also:Charlie Sheen Dead Unveiling The Truth Behind The Headlines
This article is structured to provide a clear roadmap for setting up your Raspberry Pi IoT environment. Use the table of contents below to navigate through the sections:
- Introduction to Raspberry Pi VPC IoT
- Raspberry Pi Basics
- AWS VPC Overview
- Hardware Setup
- Software Configuration
- VPC Configuration
- IoT Device Integration
- Security Best Practices
- Testing and Deployment
- Troubleshooting Tips
Introduction to Raspberry Pi VPC IoT
Raspberry Pi has become a favorite among hobbyists and professionals for its versatility and affordability. When combined with AWS VPC, it offers a secure and scalable solution for IoT projects. In this section, we will explore the basics of Raspberry Pi VPC IoT and why it's an ideal choice for your cloud-connected projects.
Raspberry Pi's ability to act as a bridge between physical devices and cloud services makes it perfect for IoT applications. By integrating it with AWS VPC, you ensure that your devices are connected securely, allowing for seamless data exchange and management.
Why Choose Raspberry Pi for IoT?
- Cost-effective hardware solution
- Wide range of community support and resources
- Compatibility with various programming languages
- Scalable for both small-scale and enterprise-level projects
Raspberry Pi Basics
Before diving into the Raspberry Pi VPC IoT setup, it's essential to understand the basics of Raspberry Pi. This section will cover the hardware components, operating systems, and initial setup required for your IoT projects.
Key Components of Raspberry Pi
- Processor: Broadcom BCM2835 or newer
- Memory: Varies from 512MB to 8GB depending on the model
- Storage: MicroSD card
- Connectivity: Wi-Fi, Bluetooth, Ethernet
For this Raspberry Pi VPC IoT tutorial, we recommend using the Raspberry Pi 4 Model B for its superior performance and connectivity options.
AWS VPC Overview
AWS VPC (Virtual Private Cloud) provides a secure and isolated environment for your cloud resources. It allows you to define subnets, route tables, and security groups to control access to your IoT devices. This section will introduce you to the key concepts of AWS VPC and how it integrates with Raspberry Pi IoT.
Read also:Pixie Haircut On Square Face The Ultimate Guide To Flattering Styles
Benefits of Using AWS VPC
- Enhanced security through private networking
- Flexibility in defining network configurations
- Scalability to accommodate growing IoT projects
- Integration with other AWS services
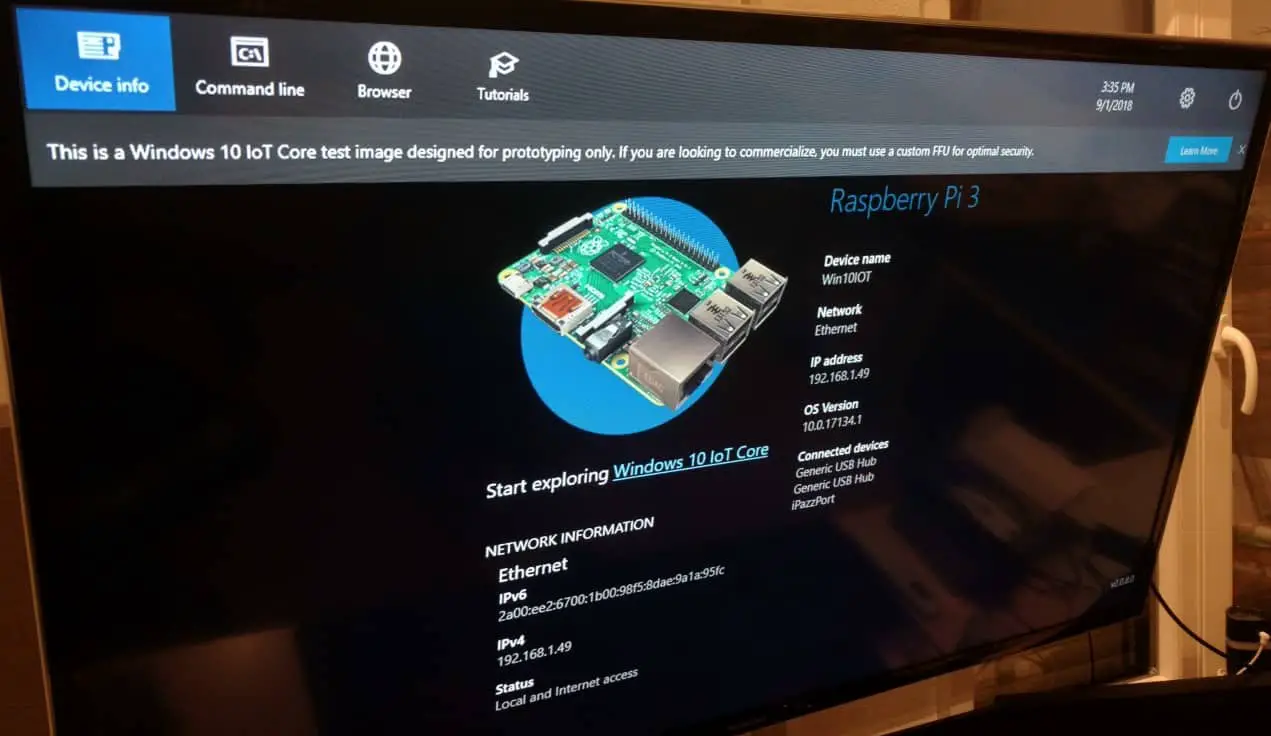
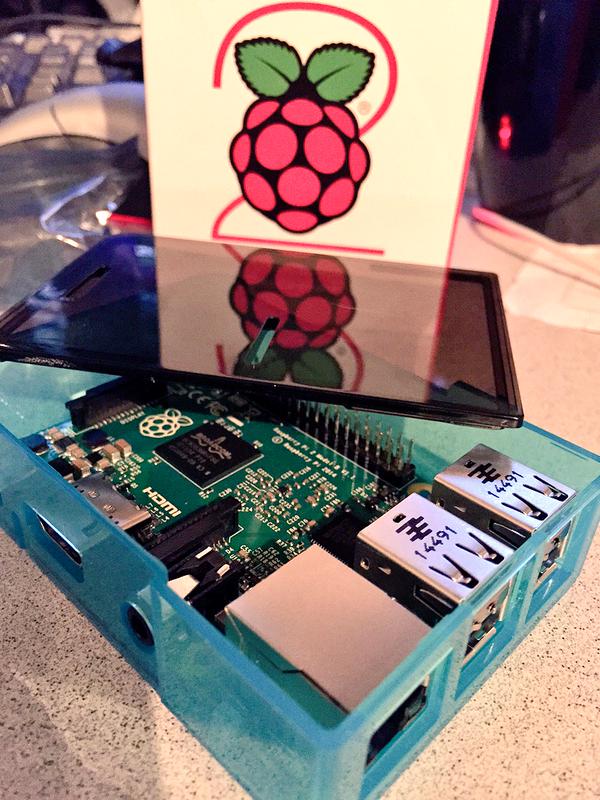
Hardware Setup
The hardware setup for Raspberry Pi involves assembling the necessary components and preparing the device for deployment. This section will guide you through the process step-by-step.
Steps for Hardware Setup
- Assemble the Raspberry Pi with a case, power supply, and cooling solution if needed.
- Insert the microSD card with the desired operating system (e.g., Raspberry Pi OS).
- Connect peripherals such as a keyboard, mouse, and monitor for initial configuration.
- Power on the device and complete the initial setup.
Software Configuration
Once the hardware is set up, the next step is to configure the software environment. This includes setting up the operating system, installing necessary libraries, and configuring network settings. This section will cover the essential software configuration steps for Raspberry Pi VPC IoT.
Key Software Components
- Raspberry Pi OS
- Python and related libraries for IoT development
- AWS SDK for Python (Boto3)
- MQTT protocol for IoT communication
VPC Configuration
Configuring AWS VPC is a critical step in setting up your Raspberry Pi IoT environment. This section will walk you through the process of creating a VPC, defining subnets, and setting up security groups.
Steps for VPC Configuration
- Create a new VPC in the AWS Management Console.
- Define public and private subnets for your IoT devices.
- Set up route tables to control traffic flow within the VPC.
- Create security groups to manage access to your devices.
IoT Device Integration
With the VPC configured, the next step is to integrate your IoT devices with the Raspberry Pi. This section will cover the integration process and provide examples of IoT applications.
Common IoT Applications
- Home automation systems
- Environmental monitoring
- Smart agriculture solutions
- Industrial IoT deployments
Security Best Practices
Security is paramount when working with IoT devices and cloud environments. This section will outline best practices for securing your Raspberry Pi VPC IoT setup.
Security Measures
- Use strong passwords and authentication mechanisms.
- Regularly update software and firmware to patch vulnerabilities.
- Implement encryption for data in transit and at rest.
- Monitor network activity for suspicious behavior.
Testing and Deployment
Once everything is configured, it's time to test and deploy your Raspberry Pi VPC IoT solution. This section will guide you through the testing process and provide deployment tips.
Testing Steps
- Verify connectivity between Raspberry Pi and AWS VPC.
- Test data exchange between IoT devices and the cloud.
- Simulate real-world scenarios to ensure stability and performance.
Troubleshooting Tips
Even with careful planning, issues can arise during the setup process. This section will provide troubleshooting tips to help you resolve common problems.
Common Issues and Solutions
- Network Connectivity Issues: Check subnet configurations and security group rules.
- Device Communication Failures: Verify MQTT settings and library versions.
- Performance Bottlenecks: Optimize code and reduce unnecessary processes.
Kesimpulan
This Raspberry Pi VPC IoT tutorial has provided a comprehensive guide to setting up your cloud-connected IoT environment. By following the steps outlined in this article, you can create a secure and scalable solution for your IoT projects. Remember to adhere to best practices for security and performance to ensure the success of your deployments.
We encourage you to share your experiences and ask questions in the comments section below. Additionally, explore other articles on our site for more insights into Raspberry Pi and IoT development. Together, let's build a smarter and more connected world!